This walkthrough is also available as a Jupyter ipynb Notebook - you can run yourself
In this document, we'll talk about how you can get Jupyter Labs up and running with iJavaScript, and how to download and run your very own Jupyter Notebooks.
For those that just want to jump into it:
- How do you Install Jupyter
- Install NodeJS and NPM / Yarn
- Installing the iJavaScript Kernel
- ex:
npm install -g ijavascriptijsinstall --spec-path=full
- Running a Jupyter Lab Notebook
For those that would like to learn more:
- What is Jupyter Anyway
- What is the iJavaScript Kernel
- Other Notebook Environments
How do you Install Jupyter Lab
While Jupyter can support many languages, it requires a Python environment since it is built and depends on Python.
I want self contained Python
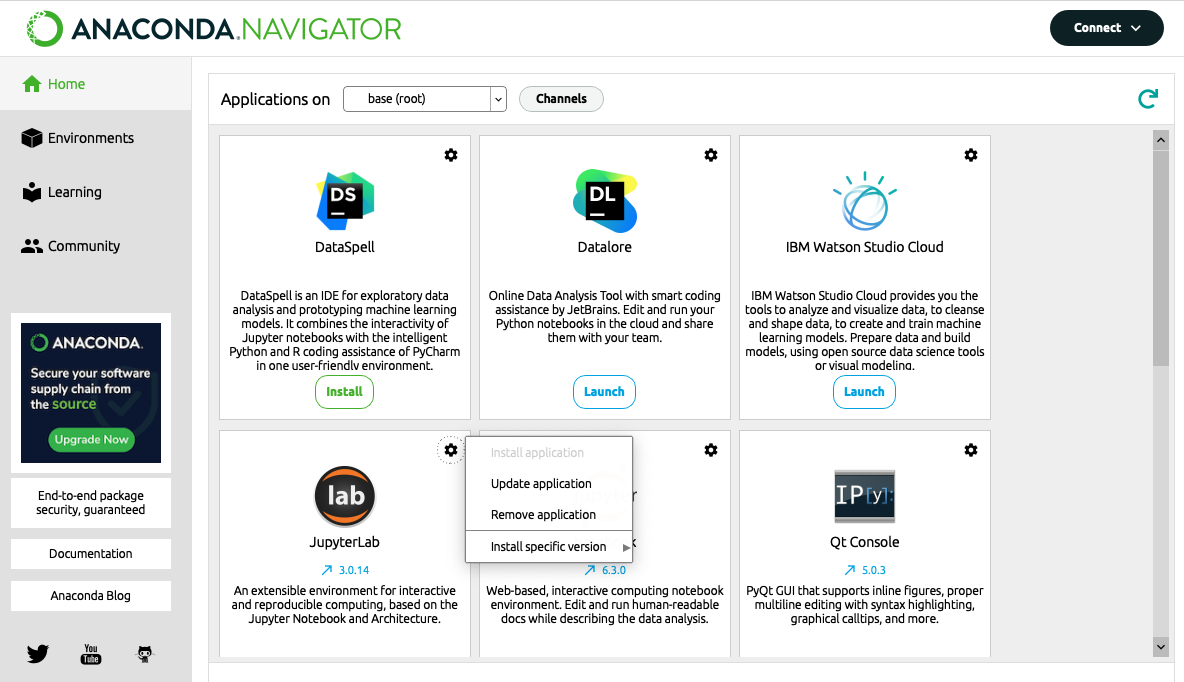
If you don't currently manage Python, we would recommend installing the free Anaconda for Python 3 for most cases.
The Individual Edition is free and manages versions of Python and Jupyter Lab for you.

Anaconda includes Python 3, Jupyter Lab, command line (conda) and a GUI (Anaconda Navigator) to install packages and manage environments.
Note that after Anaconda is downloaded, there may be a lengthy 'setup' as it downloads the latest packages (a few minutes and about 3Gb)
Miniconda
There is also a smaller package of Anaconda - called MiniConda - that only includes the conda command line tools, Python and the packages they depend on.
![]()
As such - it does not include JupyterLab out of the box, but there are some great resources on how to install miniconda and JupyterLab, but this might not be the best option for those getting started.
Anaconda provides a comparison between Anaconda and Miniconda here
Or Managing Your Own Environment
If you already have Python installed, and are comfortable with managing Python Environments, you do not need a special version of Python or an IDE to use Jupyter Notebooks.
See the Jupyter Lab documentation for installing with mamba, pip, pipenv, and others
Installing iJavaScript Kernel
Once Jupyter Lab is installed, we install the iJavaScript Kernel, so Jupyter can run JavaScript notebooks.
As we will be running NodeJS, we will require either npm or yarn
The steps and other details can be found here
Note that typically for mac, this can be as simple as:
npm install -g ijavascript
ijsinstall
Note: I tend to run ijsinstall --spec-path=full to ensure the kernel uses the full path, and avoid relative path issues.
Using Node Modules in a notebook
Through the iJavaScript Kernel, modules are searched in the directory that Jupyter Lab is launched from.
To use this library, simply npm install the library in the same folder you launch Jupyter Lab.
npm install --save jupyter-ijavascript-utils
You should now have these files and folders in that directly you ran the command in:
./
    ./package.json
    ./node_modules
The package.json file lists all the modules we require for this project.
The node_modules are where they are installed.
Launching Jupyter Lab
You can Launch Jupyter Lab from the terminal through the command
jupyter lab
As long as the npm_modules folder is accessible within that folder, then the modules will then be available to the iJavaScript Kernel.
Passwords and Security
The first time you log-in to your server, you will be prompted to enter a password.
Only users that provide the password or the token from launch will be able to access Jupyter Lab.
You can also set the password again at a later time, or use other security options.
This section discusses more on Running Jupyter Lab, and Security Options
Additionally, this document discusses overall Security within Jupyter Lab notebooks
Launch Screen
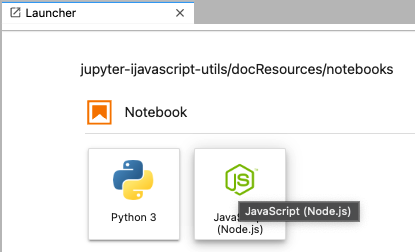
You'll then see a Launcher tab, such as the following:

Select JavaScript under Notebooks to create an Untitled.ipynb notebook.
Testing JavaScript
You can check that it is working by creating a new JavaScript (Node.JS) notebook.
Then enter the following text into the cell
console.log('JavaScript is working');
Execute the cell with the 'Play' / '▶' button

Testing Node Modules are Found
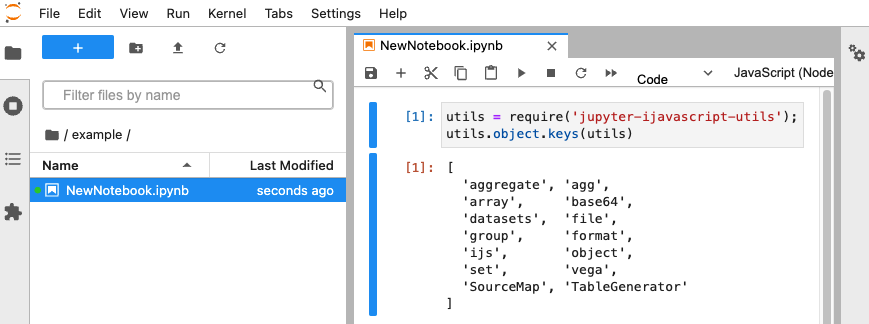
Next, create a new Cell with the (+) button with the following code:
utils = require('jupyter-ijavascript-utils');

//-- note that the last value returned in a cell is shown in console
utils.object.keys(utils);
...and again, execute the cell with the 'Play' / '▶' button
This shows the jupyter-ijavascript-utils library is available from our node_modules

Note that Jupyter executes cells in order from top to bottom.
So any cells below the cells below can then use the library.
Next Steps
Please consider checking out one of the other tutorials:
And note that the Jupyter Lab Notebook that each was written from is linked at the top.
Try downloading and running yourself.